This post walks through the process of flashing a cheap AirTag clone with OpenHaystack, setting up a macless backend using Docker, and tracking the tag via your own infrastructure – without needing a Mac or iPhone.
Hardware Overview
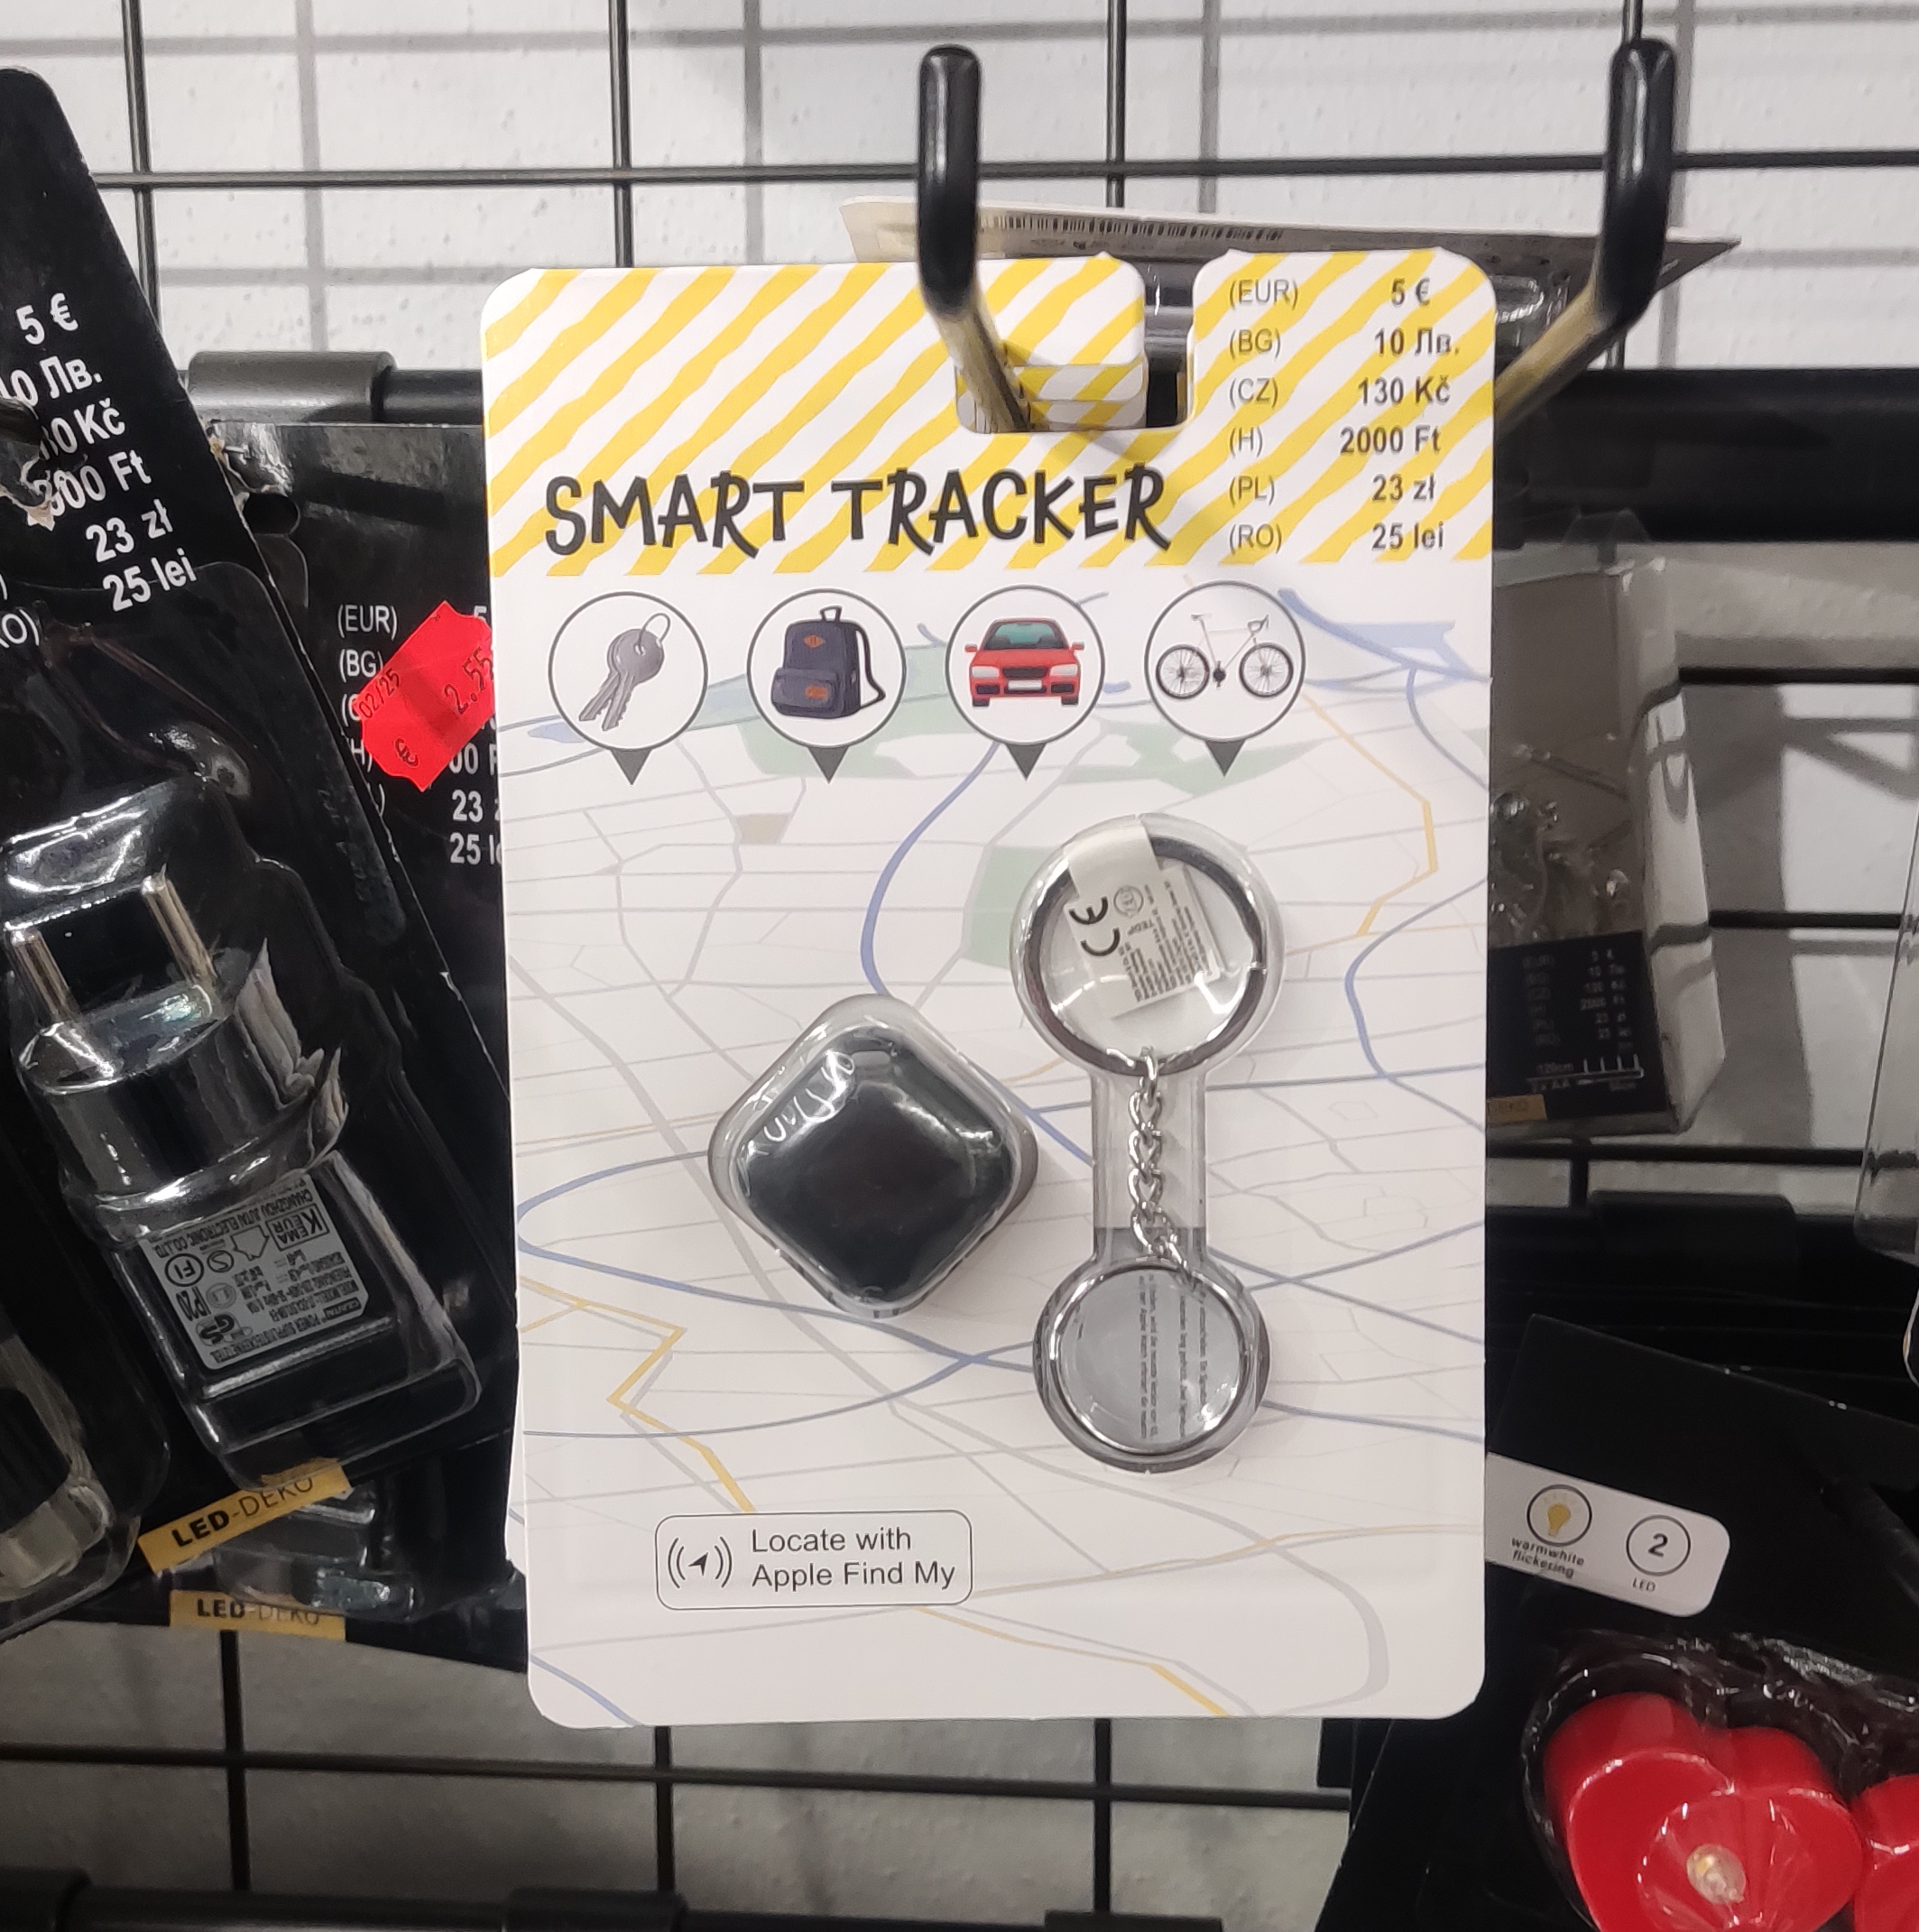
- Generic AirTag clone (~€5)
- ESP32 NodeMCU dev board
- Soldering iron + basic tools
- Access to a Linux PC or similar
- OpenMediaVault (OMV) NAS with Docker (optional, can be any Docker-capable host)
Firmware Flashing: Step-by-Step
1. Unboxing
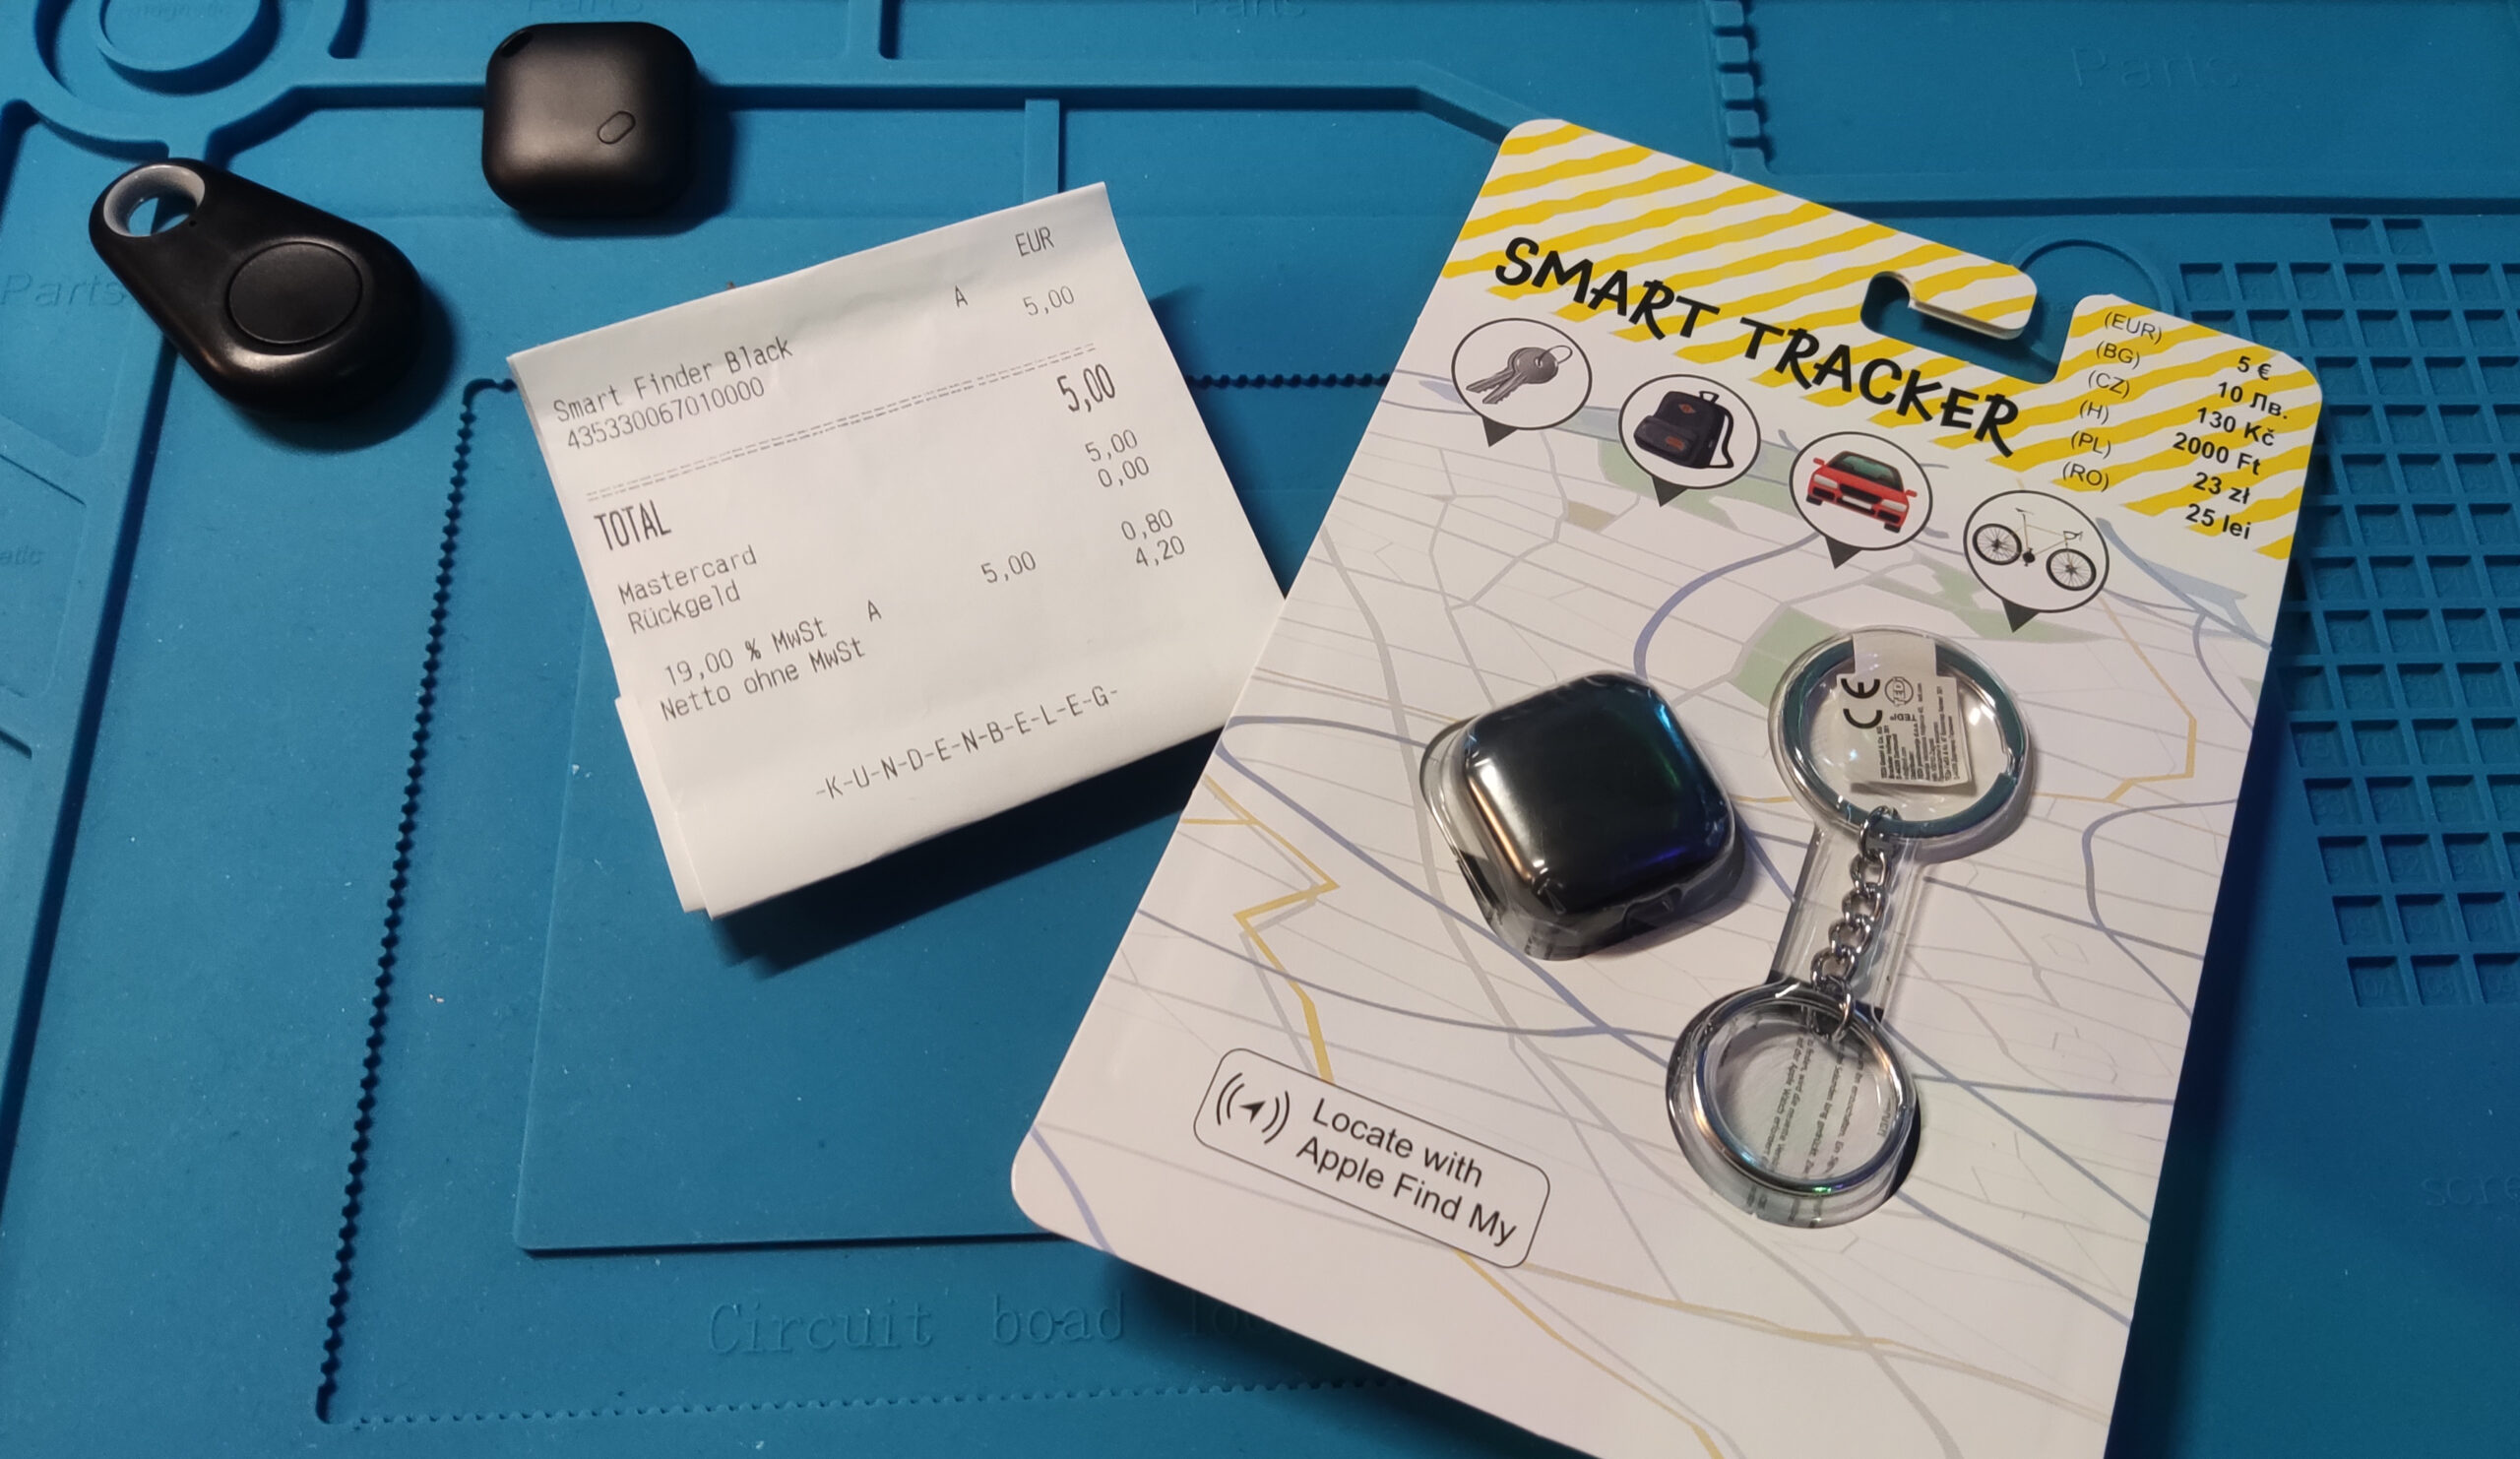
Simple generic packaging. Inside: a plastic tag. Shown on the mat are different types of keyfinders/tracking devices that also work with this method.
2. Opening the case
Using a pry tool or flat screwdriver, open the tag to access the PCB.

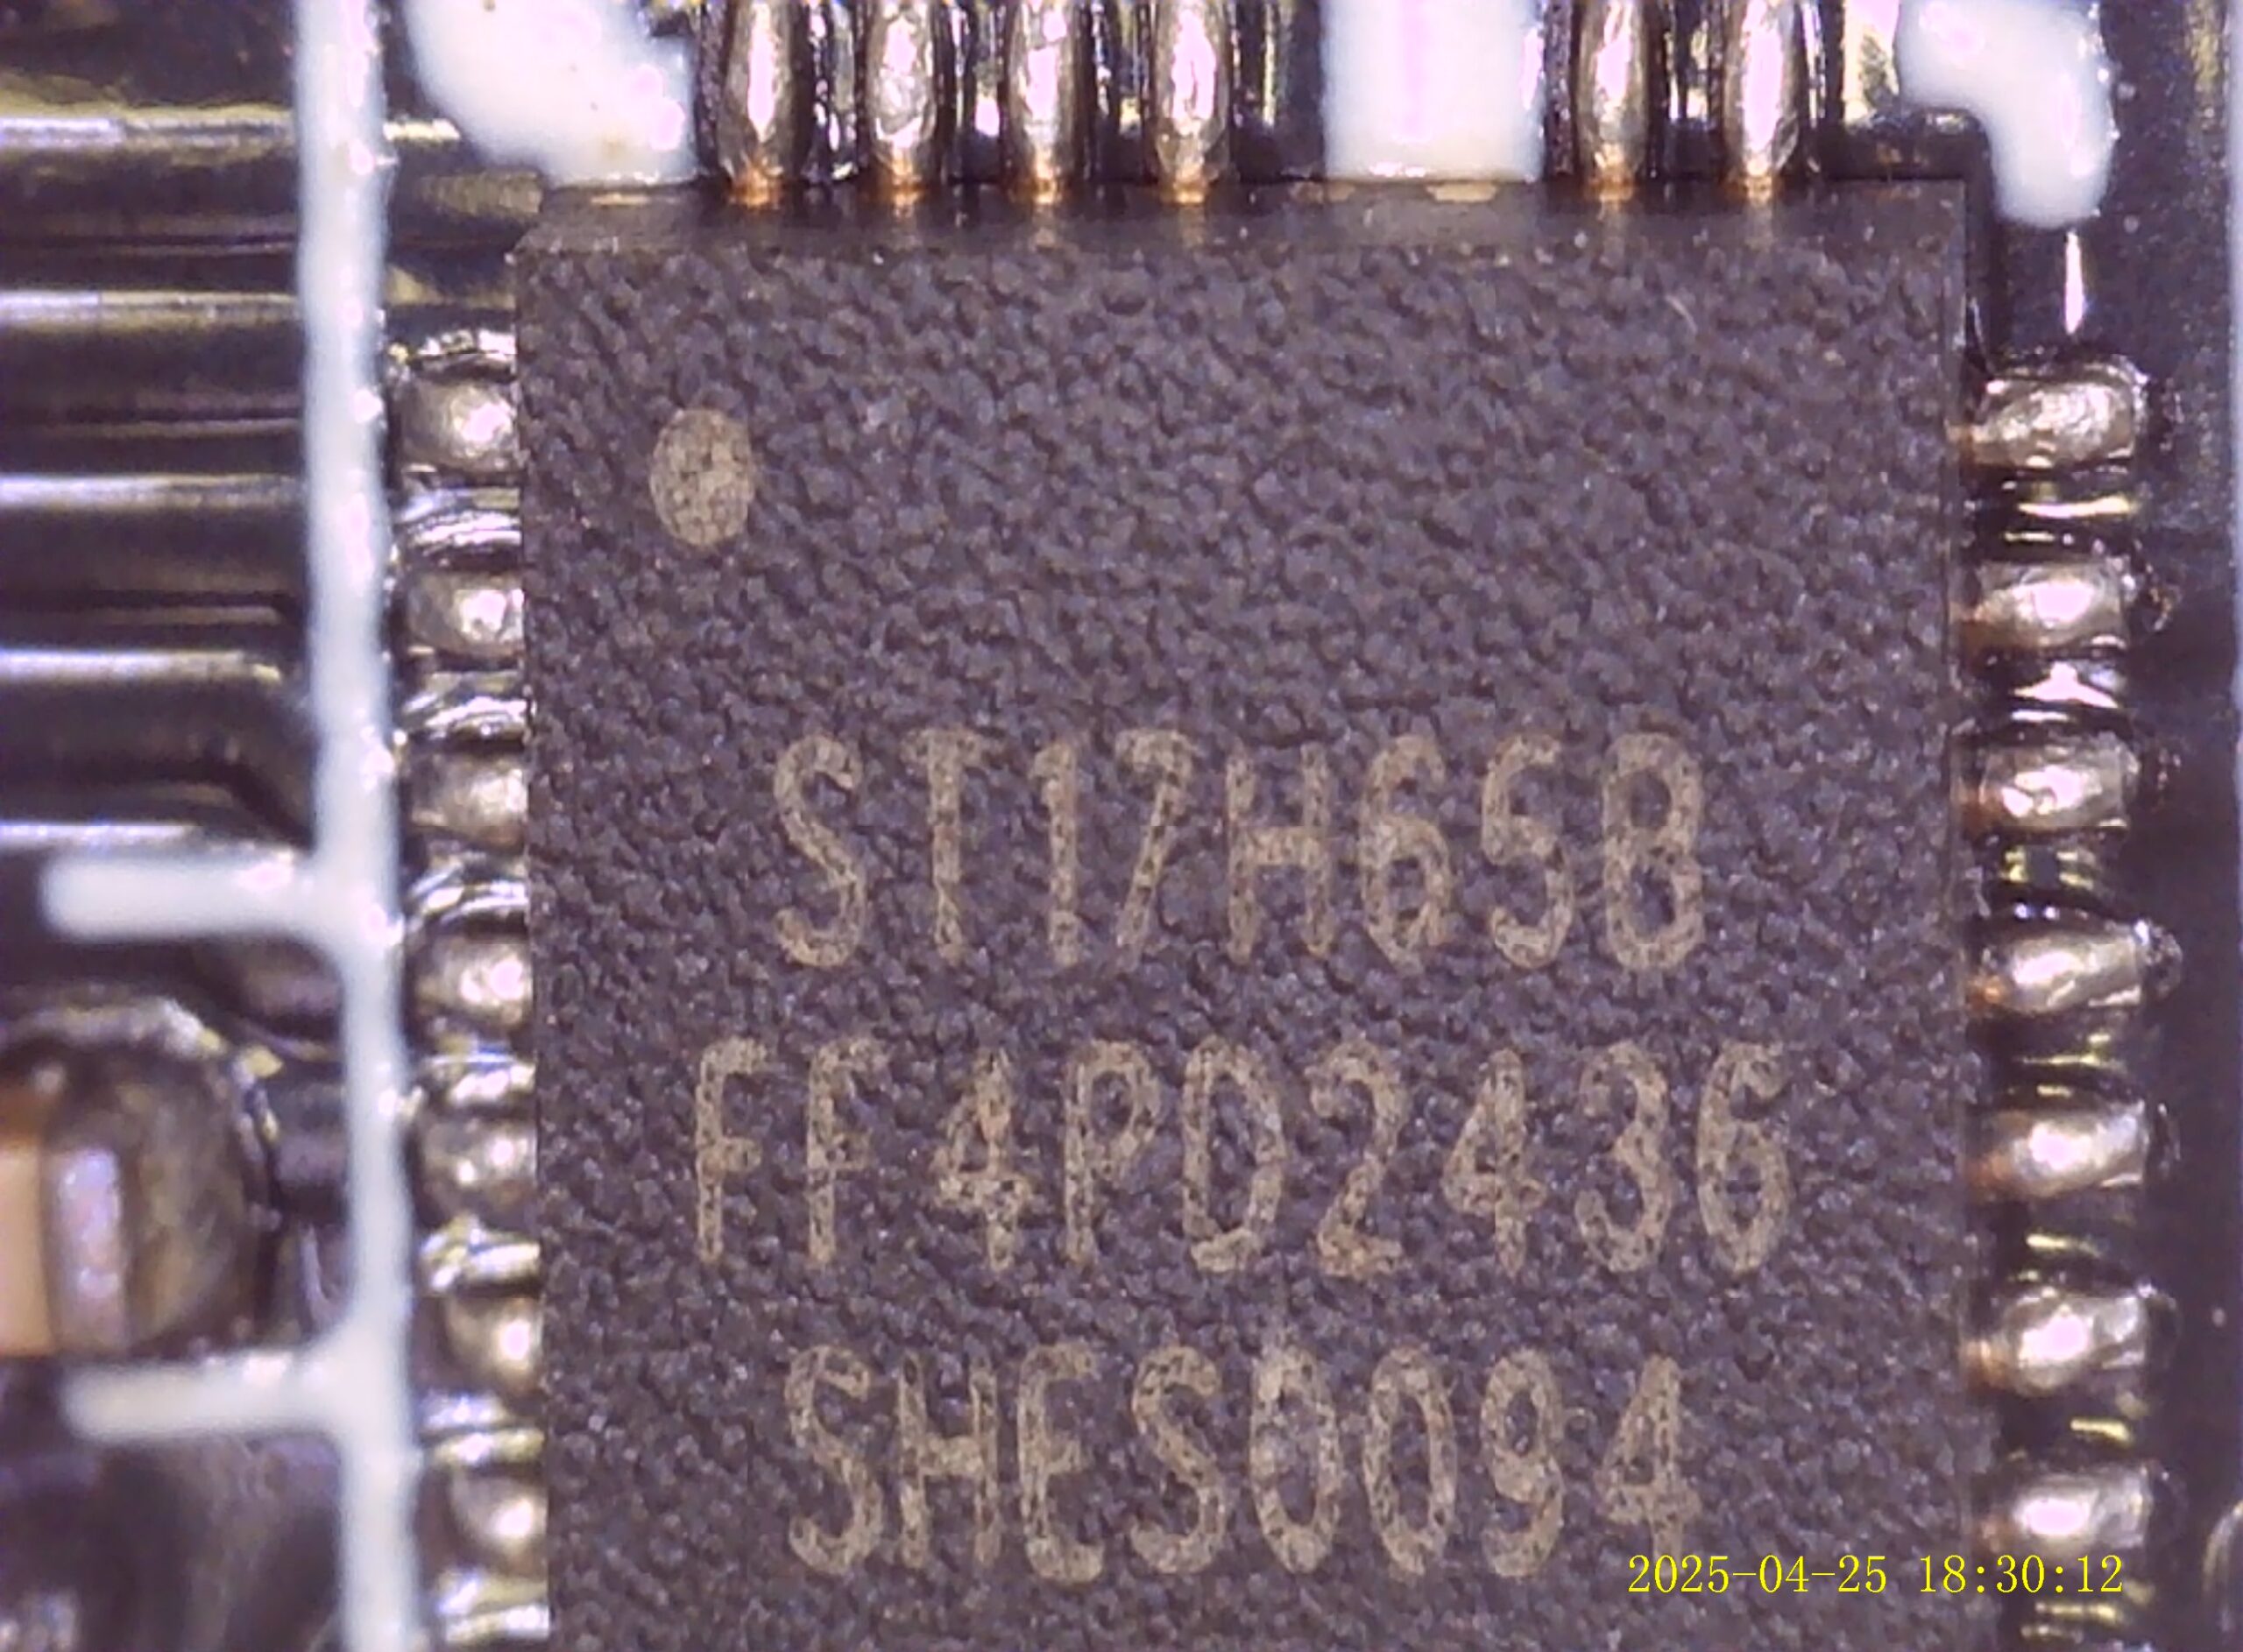
Note: The firmware made by biemster was originally made for the
ST17H66, but appears to work flawlessly on the ST17H65, too.
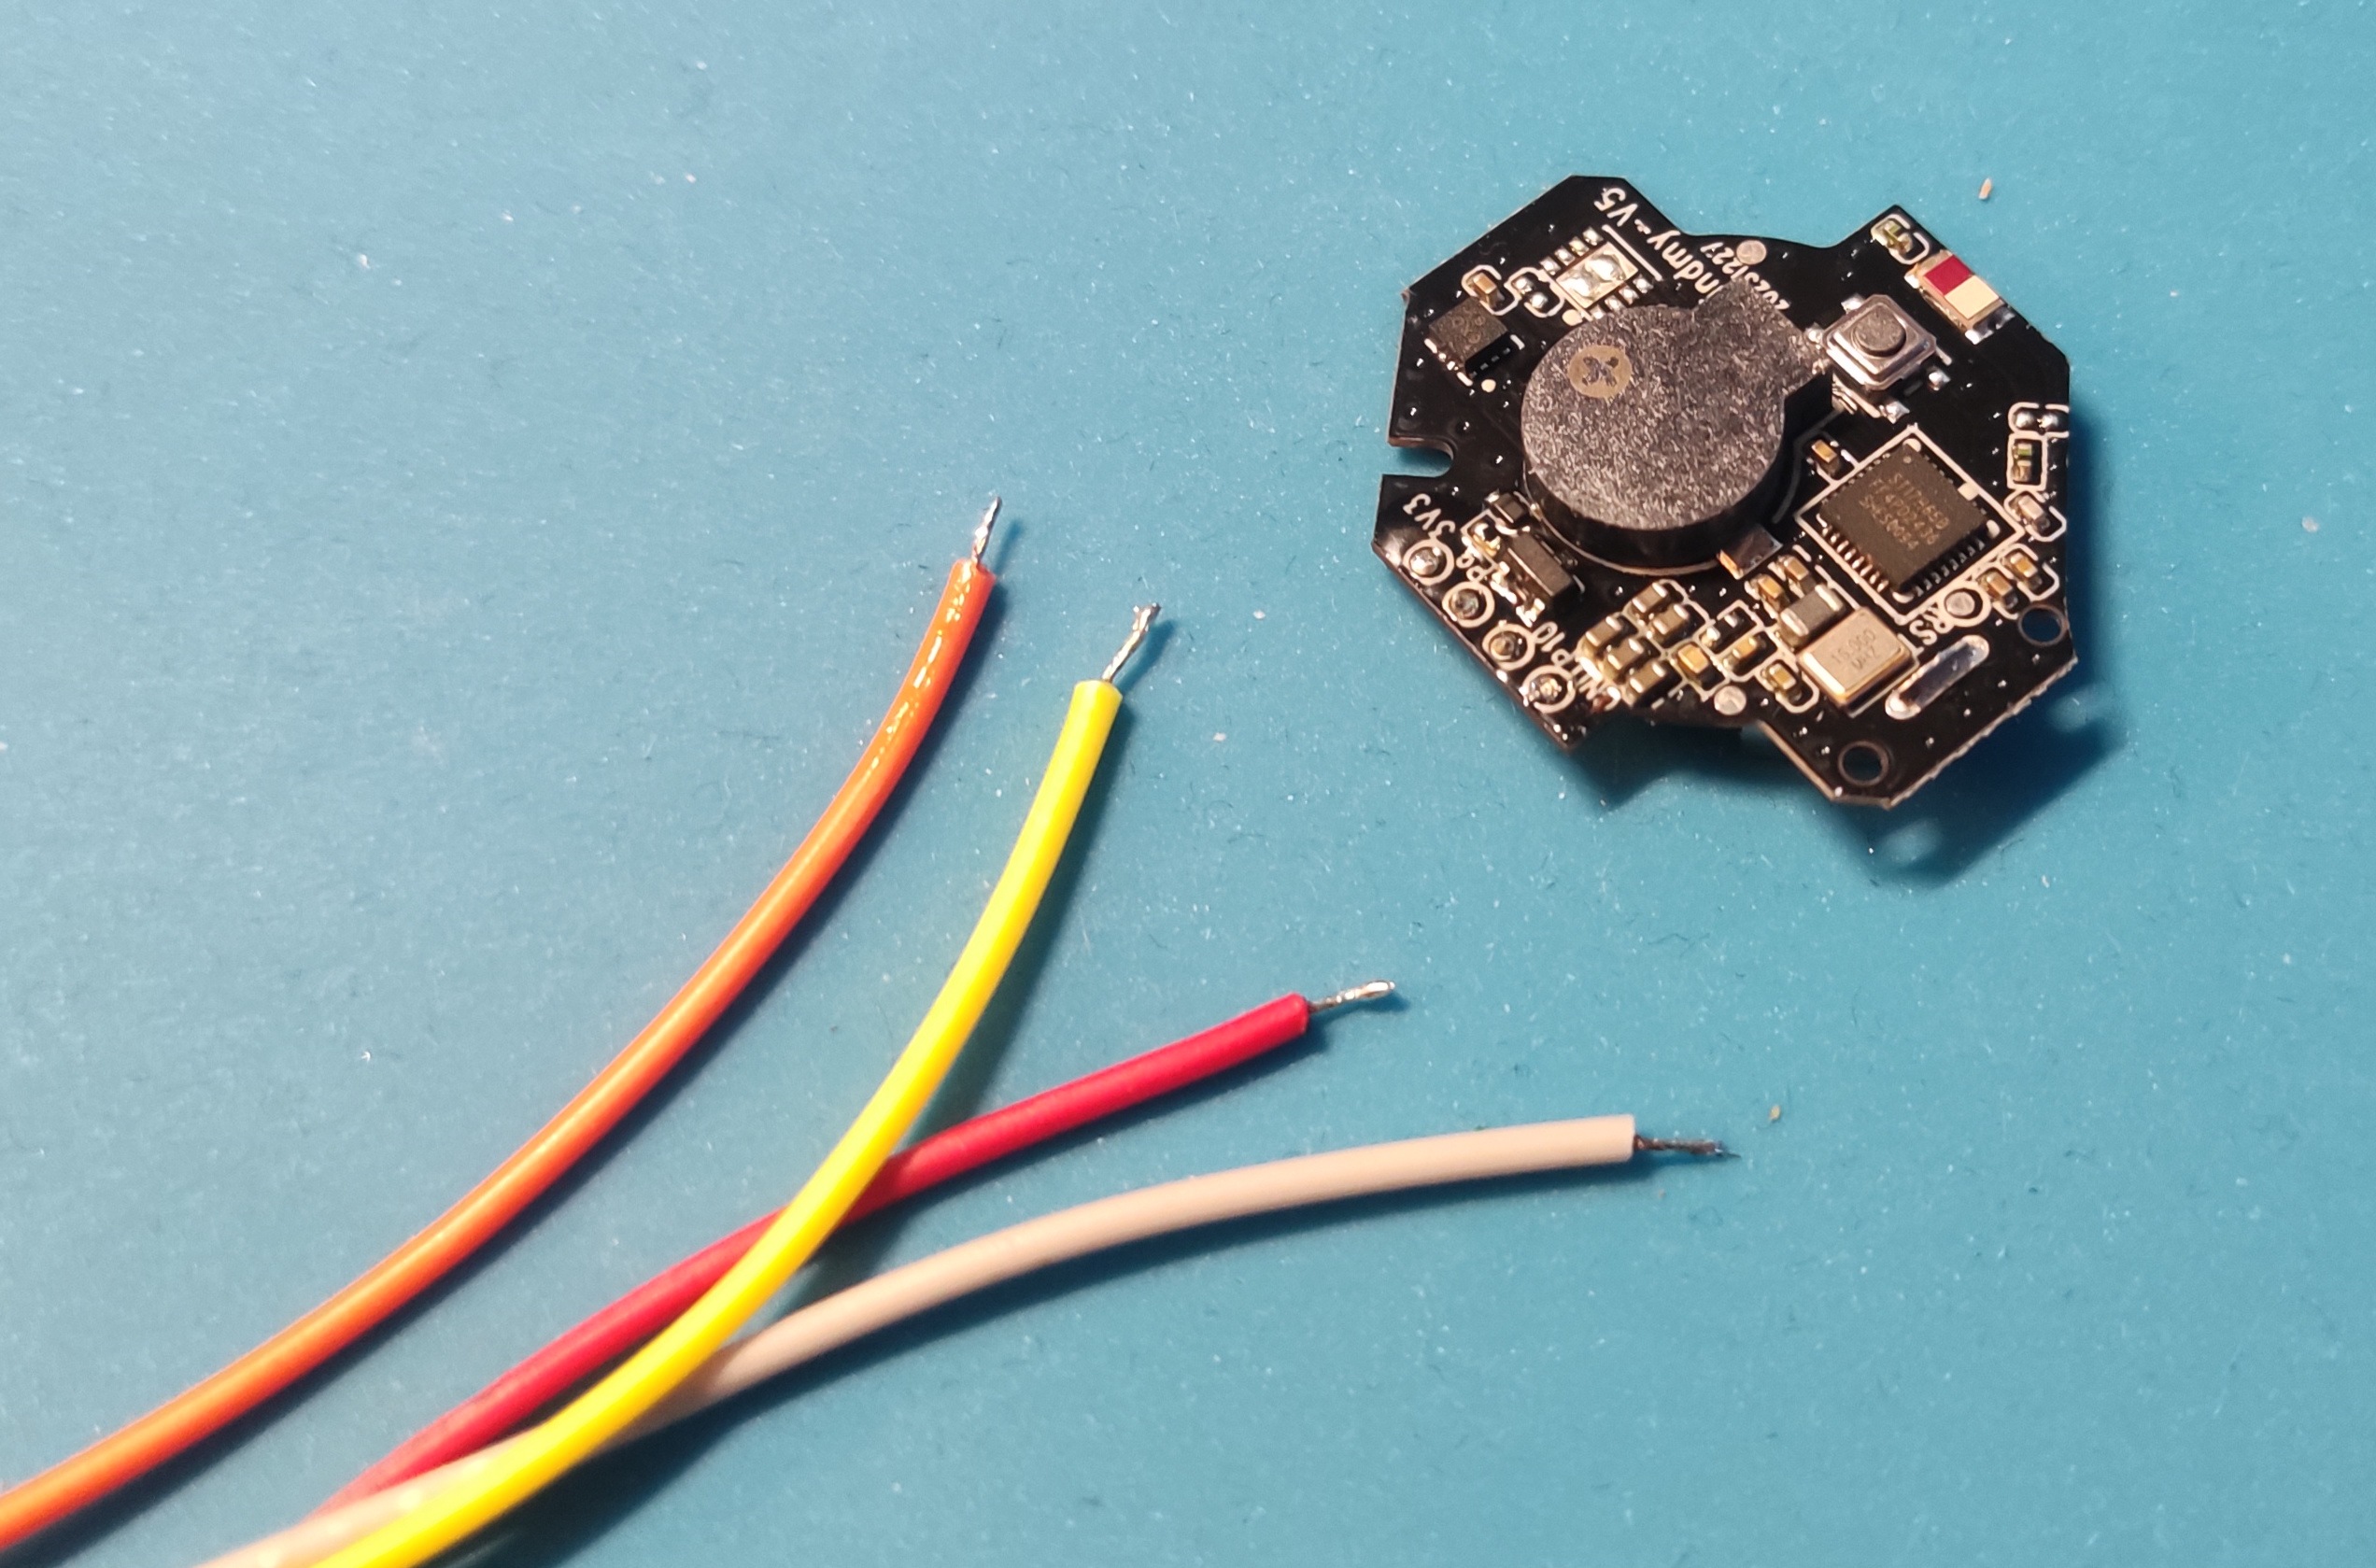
3. Soldering to test points
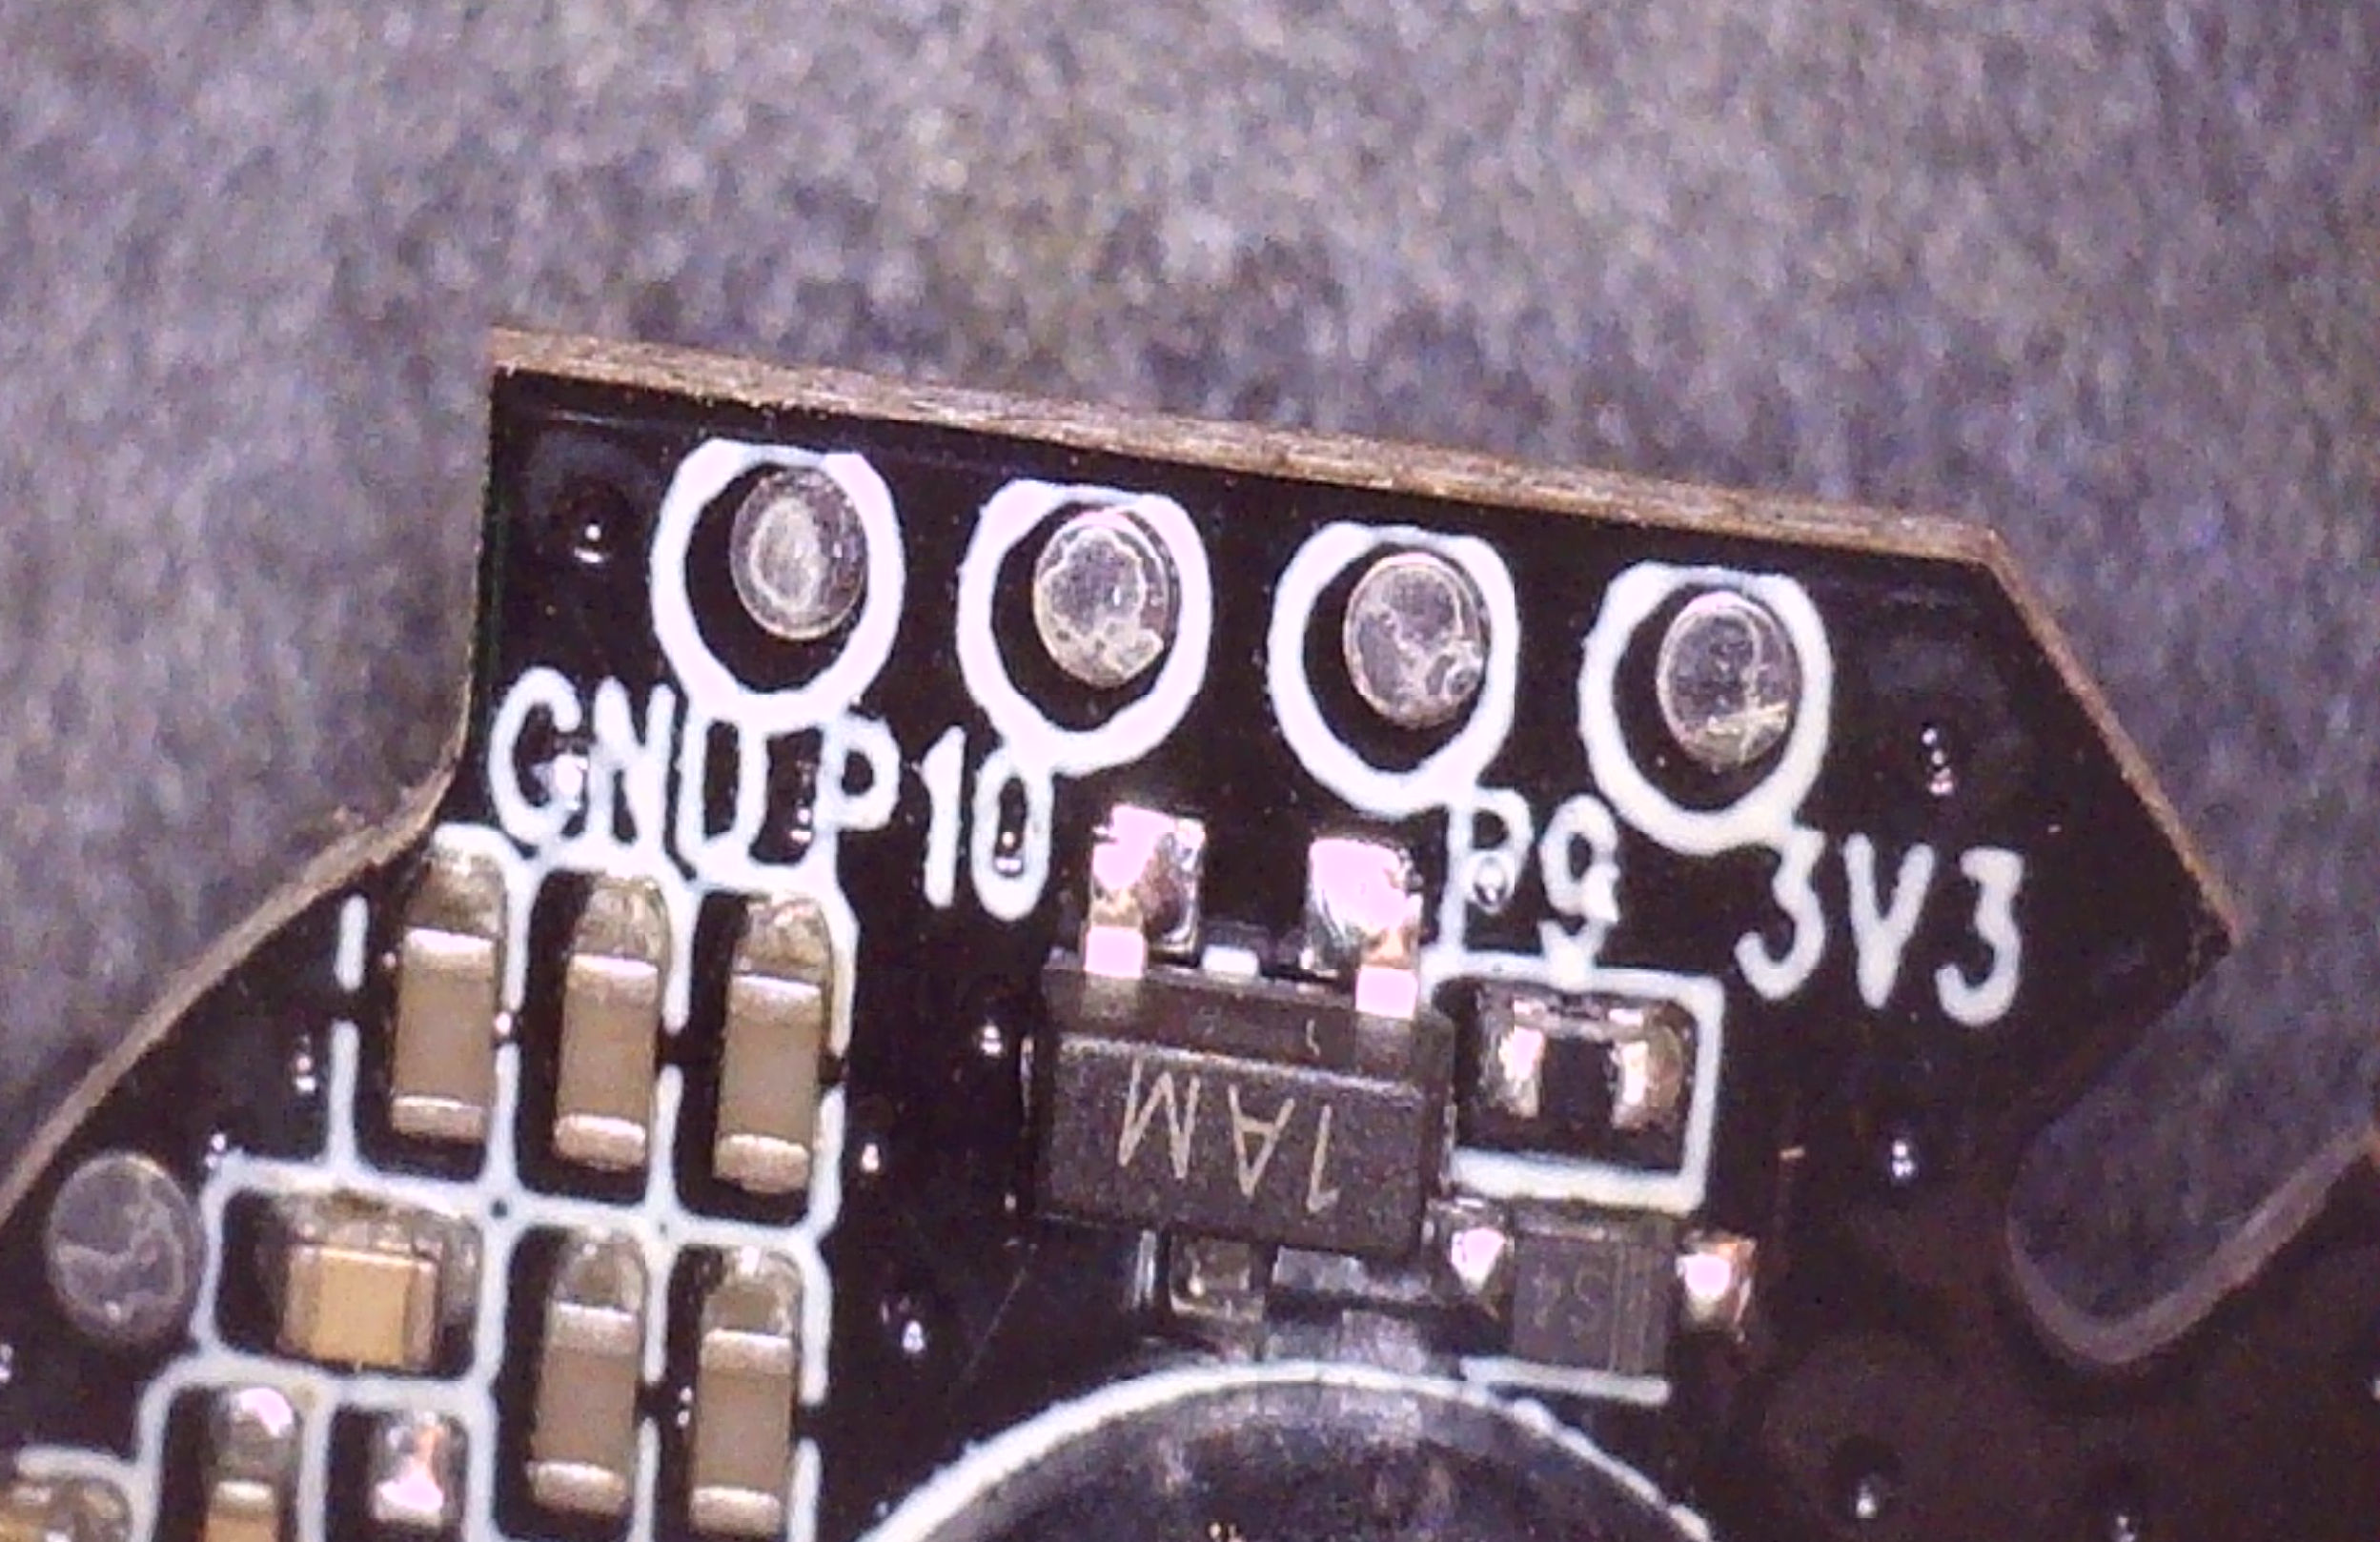
Locate and solder to TX, RX, GND, and VCC test points.
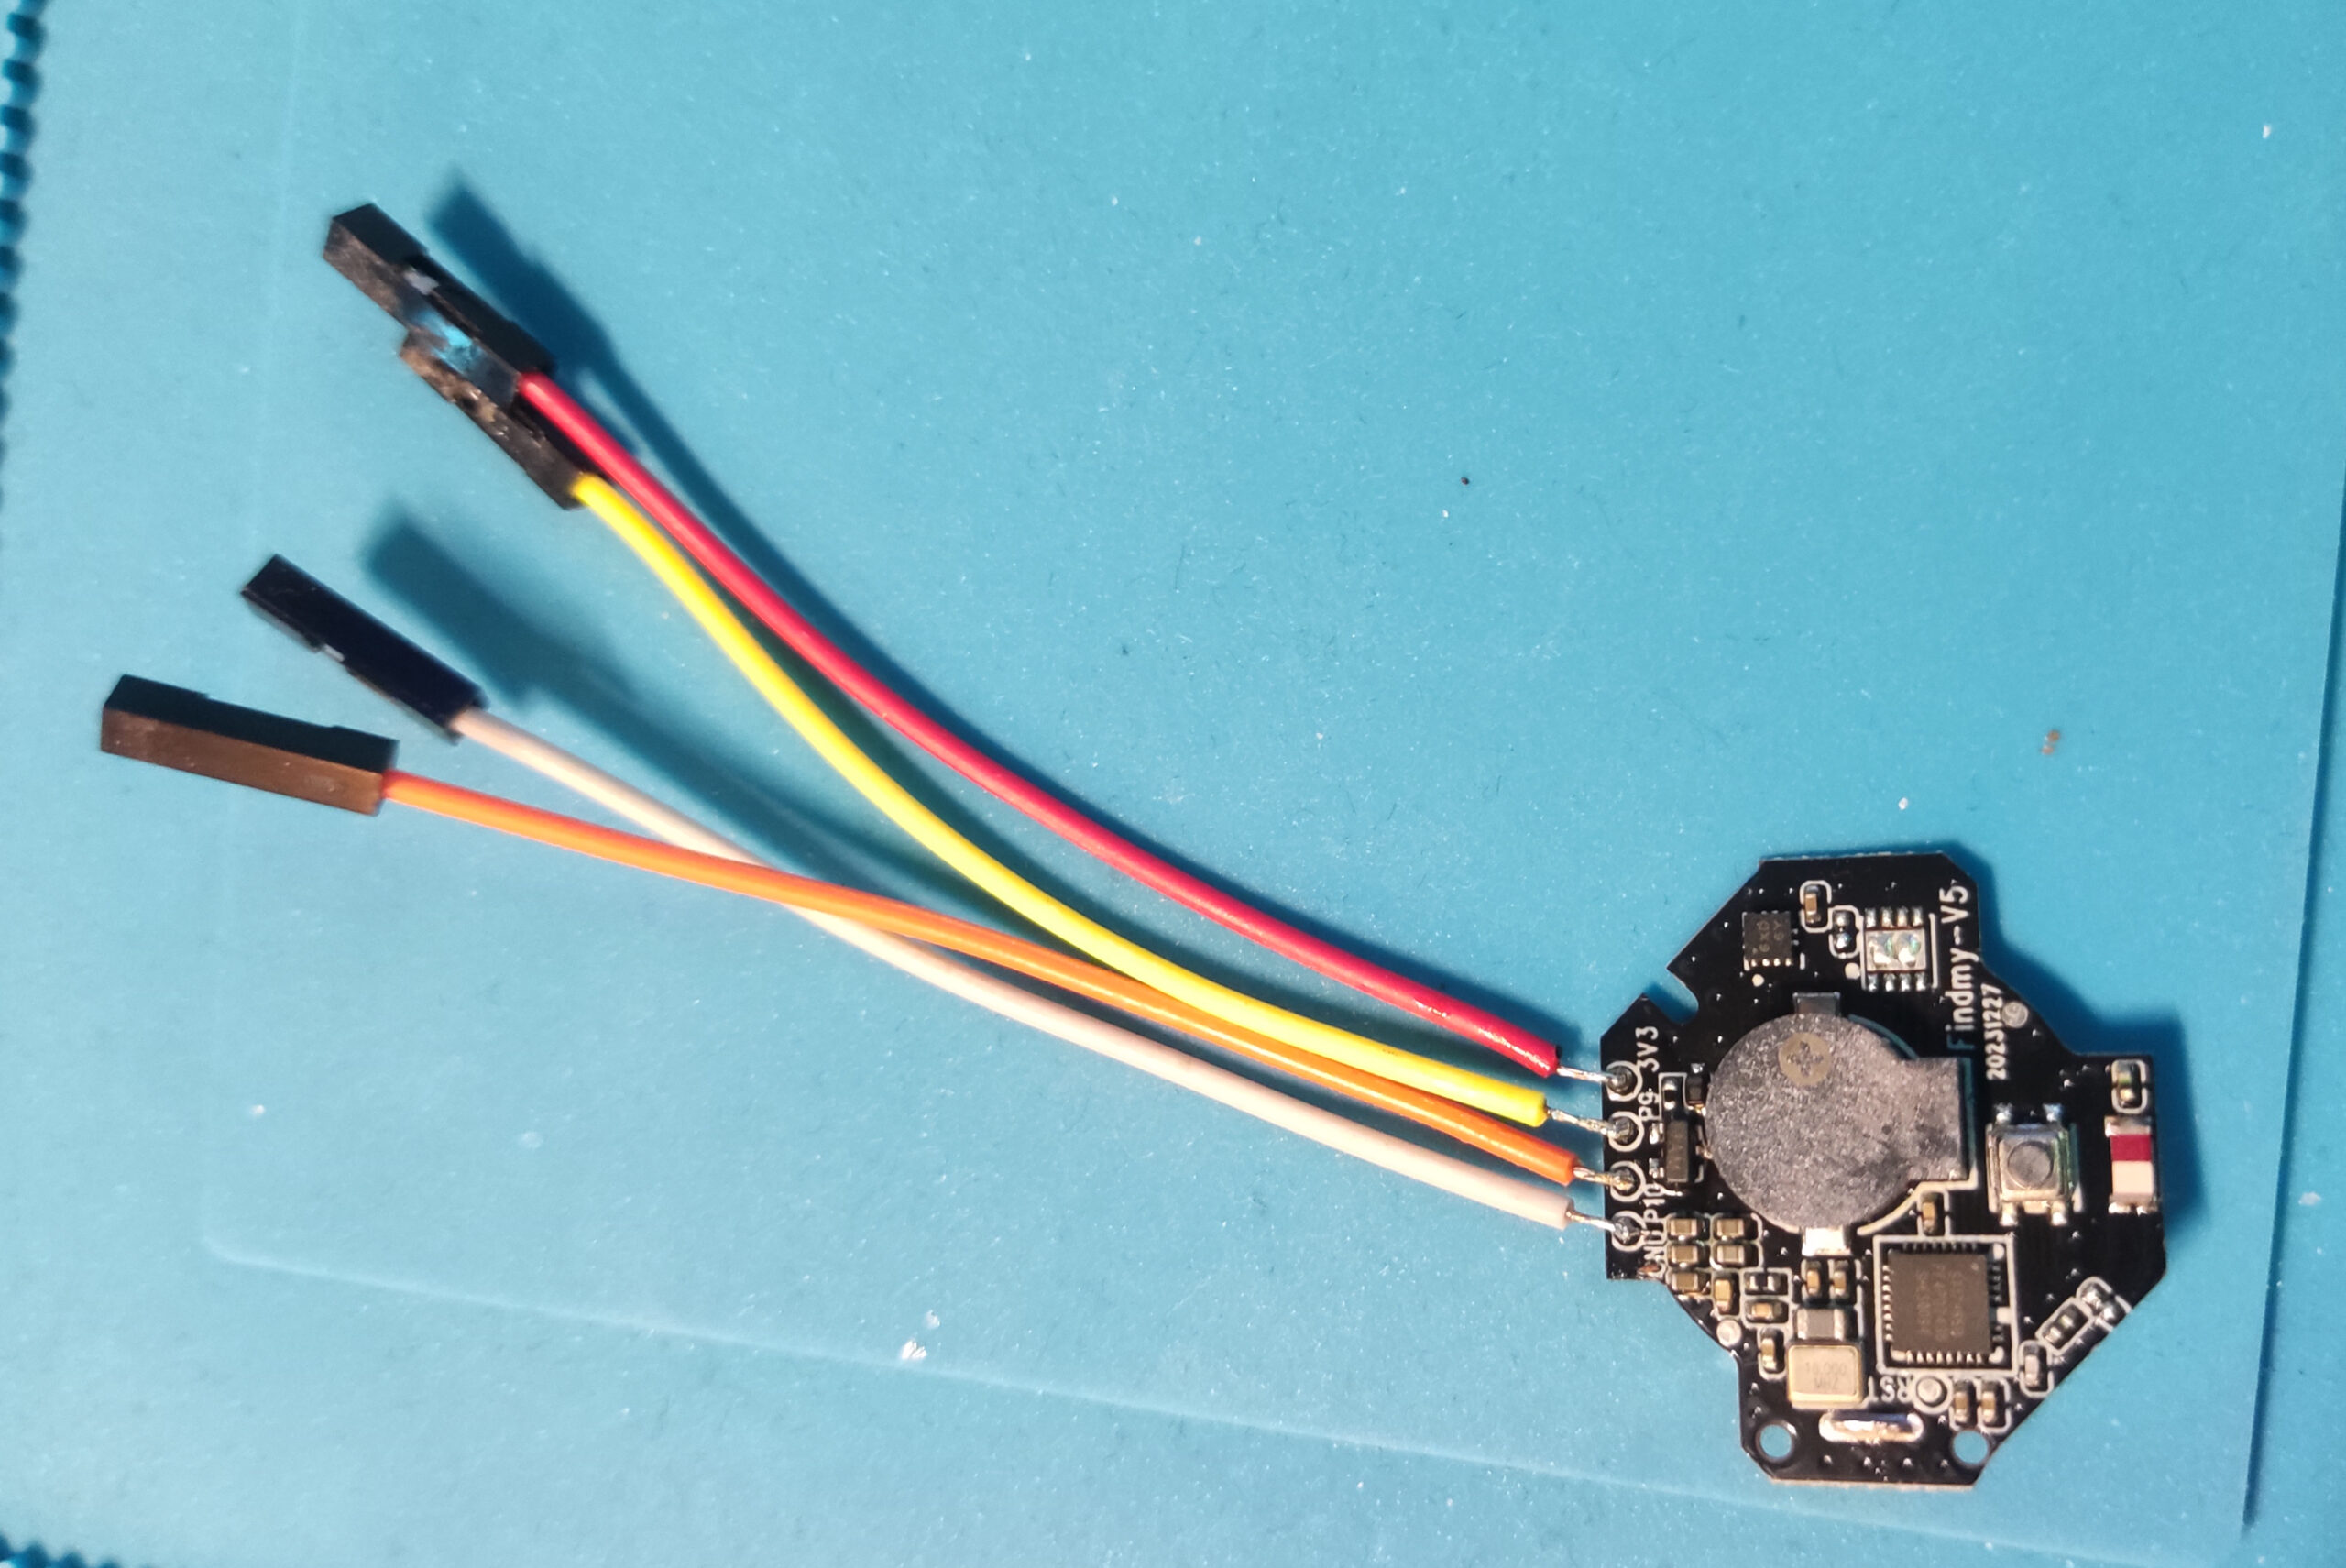
Documentation I found online suggests that P10 is RX and P9 is TX but your module might differ.
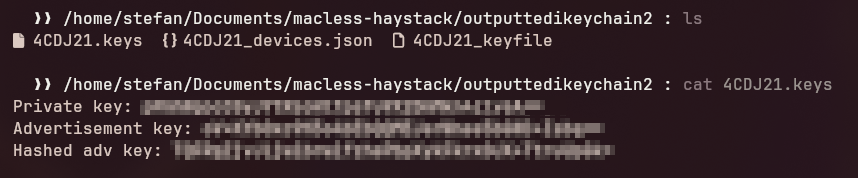
4. Generate keypair
Clone the repo at
https://github.com/stefexec/ST17H6X-OpenHaystack-Tags
python generate_keys.py

This will generate a private/public keypair.
There should be 3 files in the output folder.
<ID>.keys contains your keypair.
You’ll flash the public key (Advertisement key) onto the tag.
4. Prepare ESP32 for Flashing
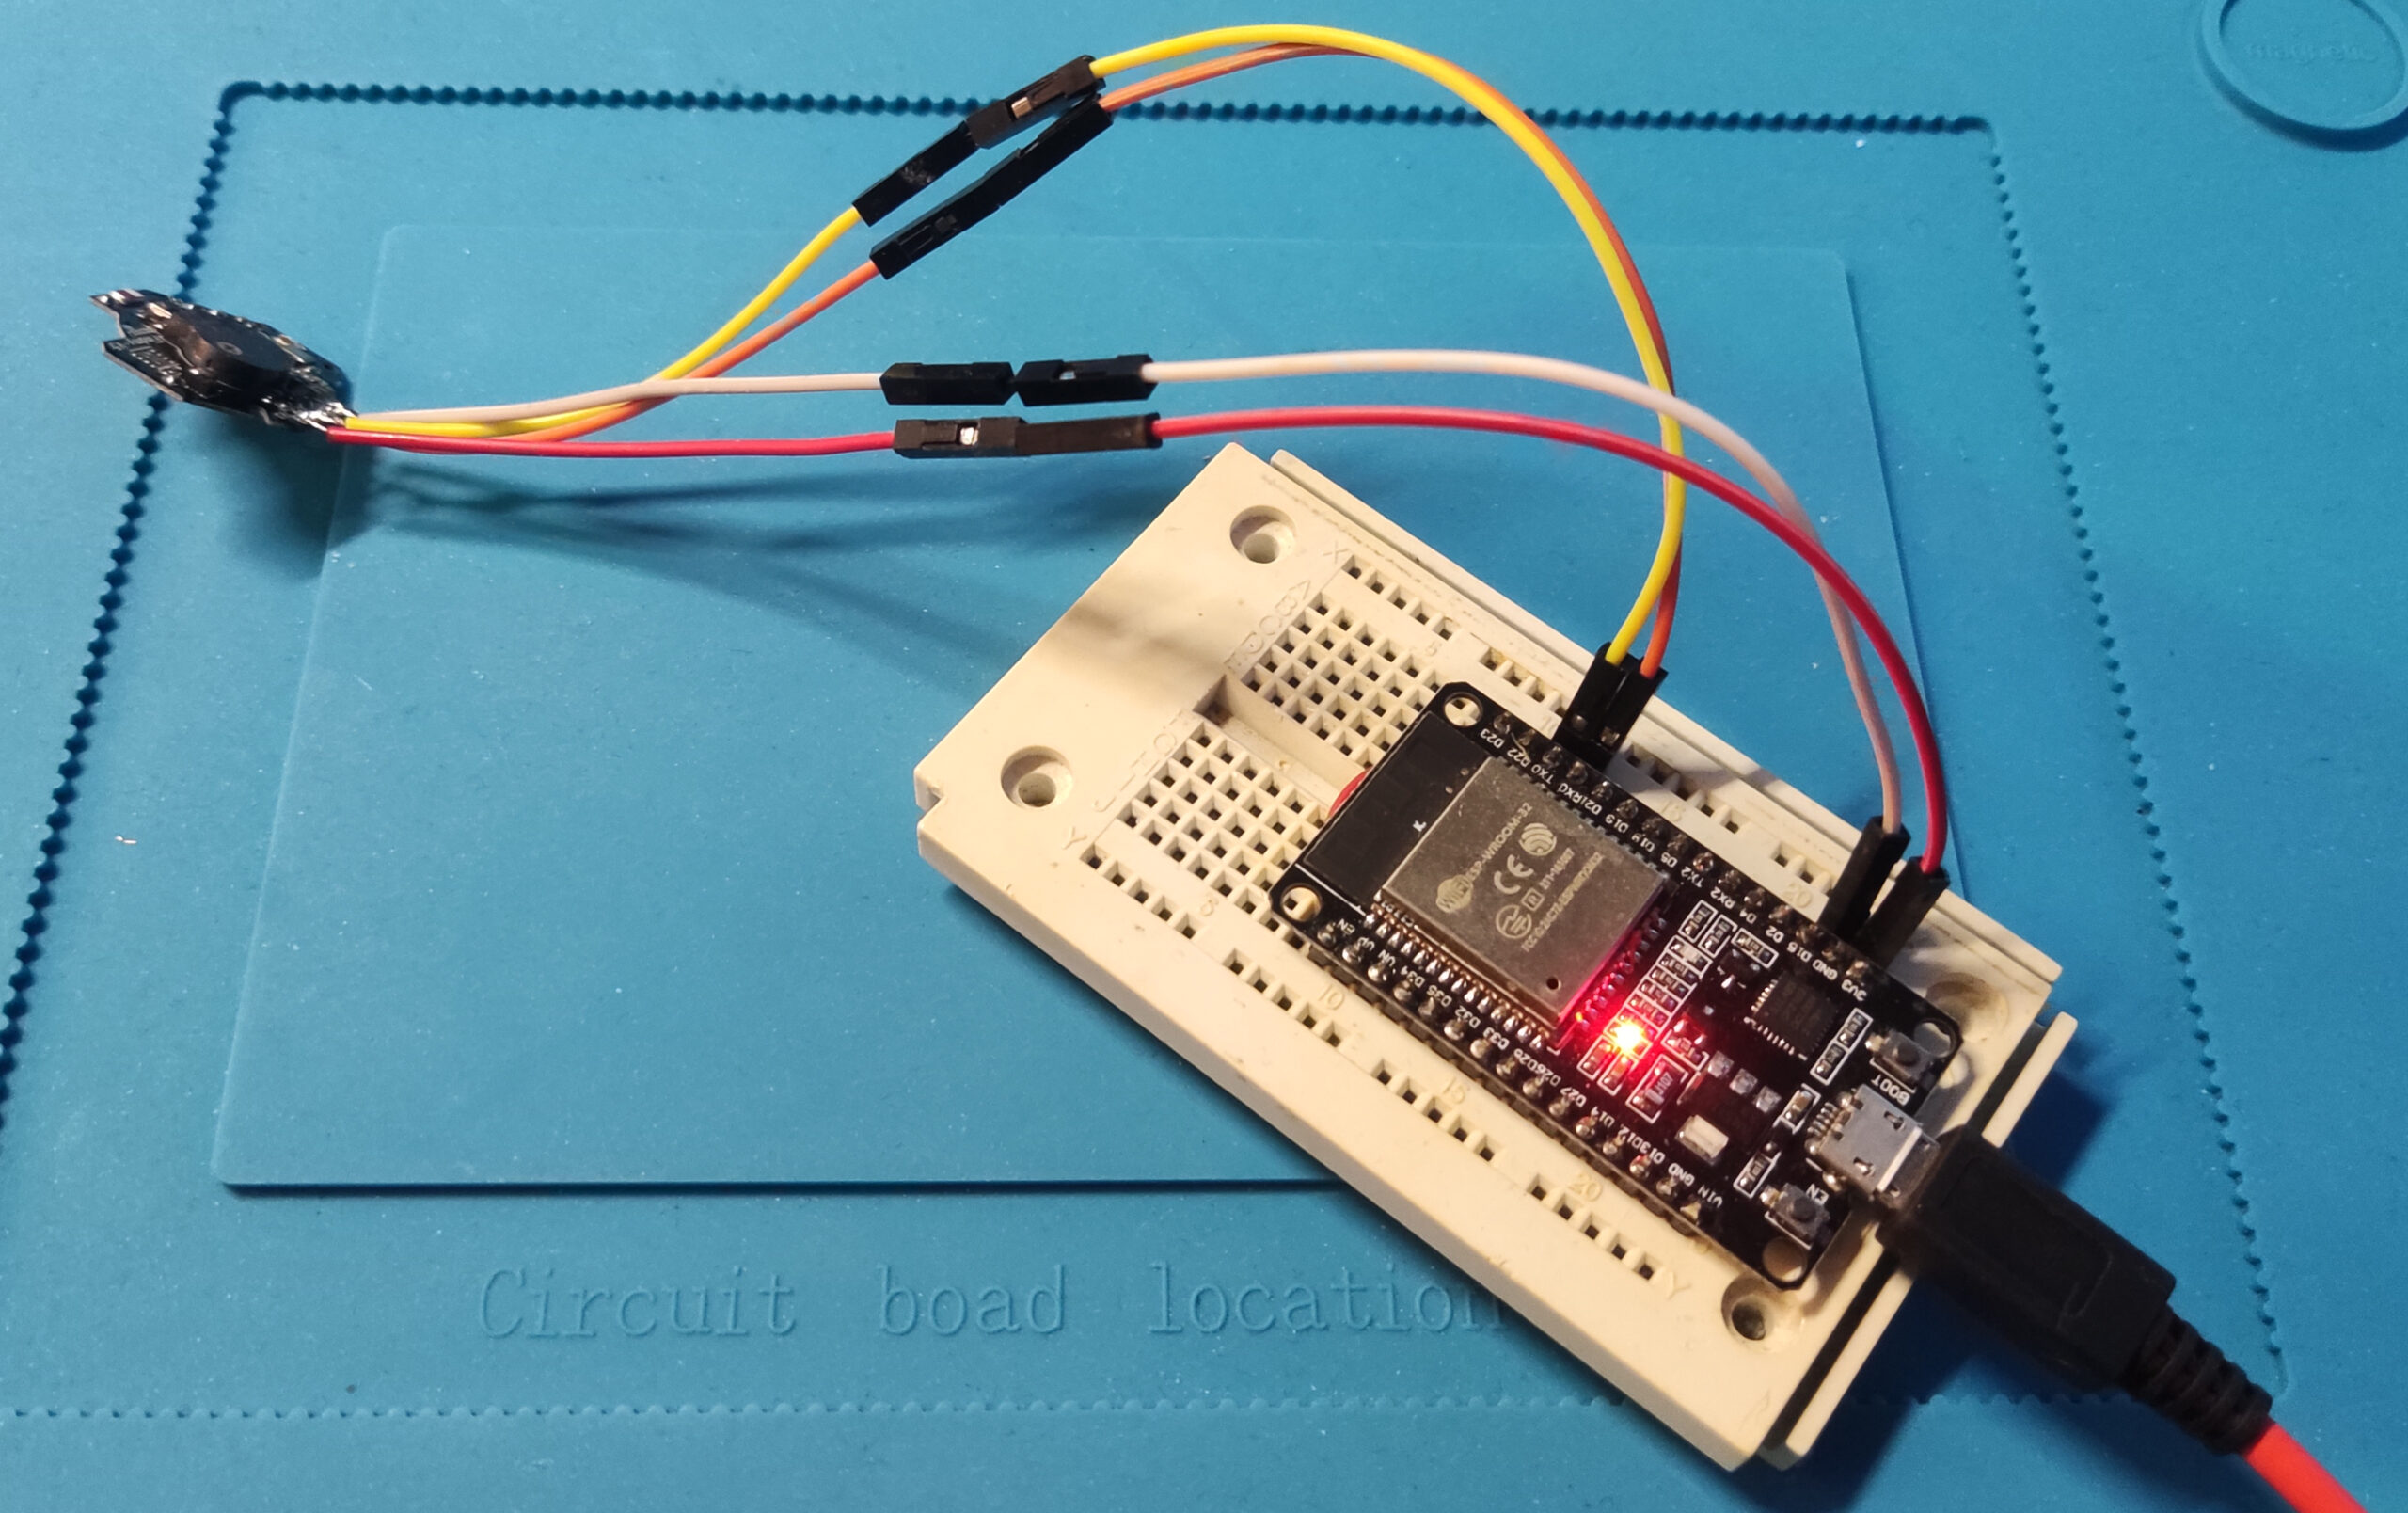
- Connect
ENtoGNDon the ESP32 NodeMCU to disable its own chip. - Wire TX/RX to the tag: ESP TX → tag RX, ESP RX → tag TX.
- DON’T connect VCC/GND yet!
At first I was trying to flash it using a generic USB-C FTDI. Flashing using this method did not work at all, which is why I’ve tried using a NodeMCU as alternative. Turns out this method worked flawlessly!
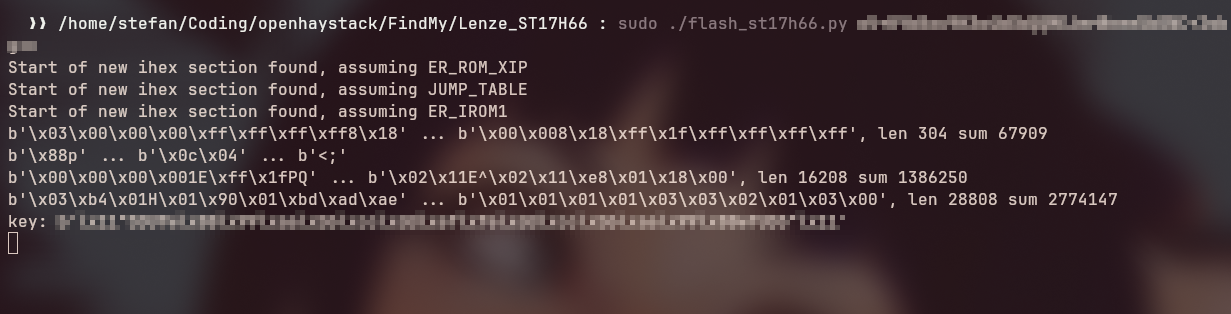
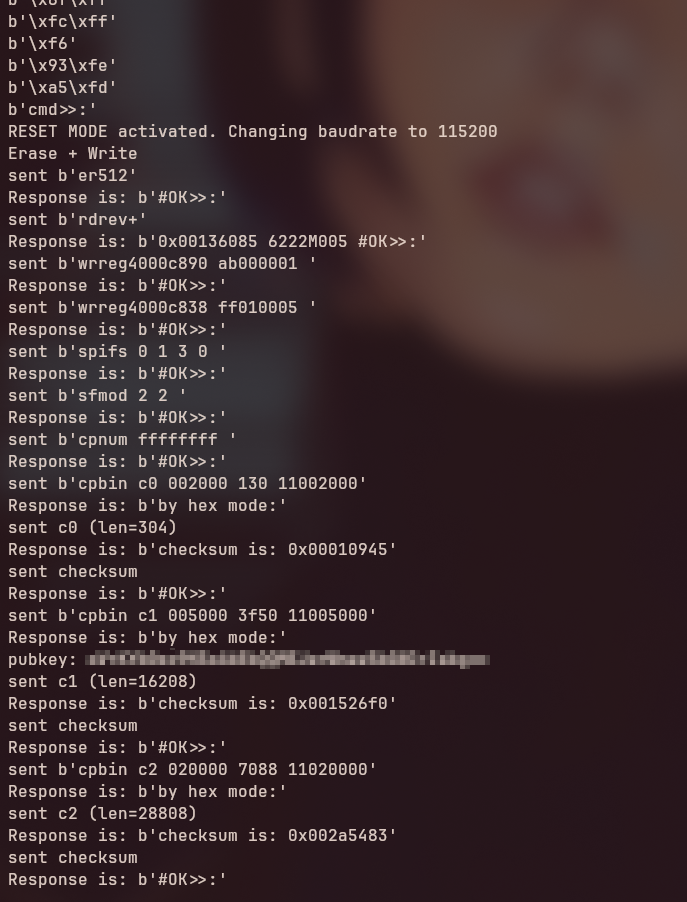
6. Flash Command
PySerial needs to be installed, then just simply type
./flash_st17h66.py <advertisement_key>.
Use the public key from the previous step as <advertisement_key>.
Hit enter.
7. Start Flashing
- Power the tag by connecting VCC and GND.
- Run the flash command.
- If the chip isn’t detected right away:
- Try disconnecting/reconnecting VCC until it is.
- Swap TX/RX wires if necessary.
- Reconnect the board to the programmer entirely
This is how it looks like when the flash succeeded:
8. Reassemble
Once the firmware is successfully flashed, remove wires and snap the case shut.
Now, for the fun part:
Docker-Based Backend (No Mac Needed)
I’m using Docker on my OMV NAS to host both the Anisette auth server and the macless OpenHaystack backend.
version: '3'

services:
  anisette:
    image: dadoum/anisette-v3-server
    container_name: anisette
    restart: always
    ports:
      - "6969:6969"
    volumes:
      - anisette-v3_data:/home/Alcoholic/.config/anisette-v3/lib/
    networks:
      - mh-network

  macless-haystack:
    image: christld/macless-haystack
    container_name: macless-haystack
    restart: unless-stopped
    ports:
      - "6176:6176"
    volumes:
      - /haystack-data:/app/endpoint/data
    networks:
      - mh-network
    stdin_open: true
    tty: true

networks:
  mh-network:
    name: mh-network

volumes:
  anisette-v3_data:
  mh_data:
Expose the Backend
I used a Cloudflare Tunnel to make the macless-haystack server publicly accessible under a custom domain including SSL.
That domain can then be entered in the official OpenHaystack frontend:
🔗 https://dchristl.github.io/macless-haystack/
In here you can upload the <ID>_devices.json file you’ve generated earlier to link your Tag!
Logging in via Docker
Before you can register and receive data from your tag, you need to log into your Apple ID inside the container.
- Start the Docker containers
- SSH into your server and run:
docker exec -it macless-haystack /bin/bash
Then, even though you won’t see a prompt:
- Type your Apple ID email and press Enter
- You’ll then see the password prompt
- Enter password, then go through 2FA as prompted
Use container logs (docker logs macless-haystack) to debug if needed.
Once authenticated, the backend is ready to go.
Thanks to:
Leave a Reply